

Preparing your 3D printer
(for older 3D printers)
Before using the printer for the first time, it is a good idea to set it up properly at first to avoid unnecessary trouble. If you have basic FFF printer, we recommend at first to set the correct z-height, check the retraction setting with each material you use and don’t forget to spray the bed. For this calibration you will have to export a model to your printer with using Slicer.
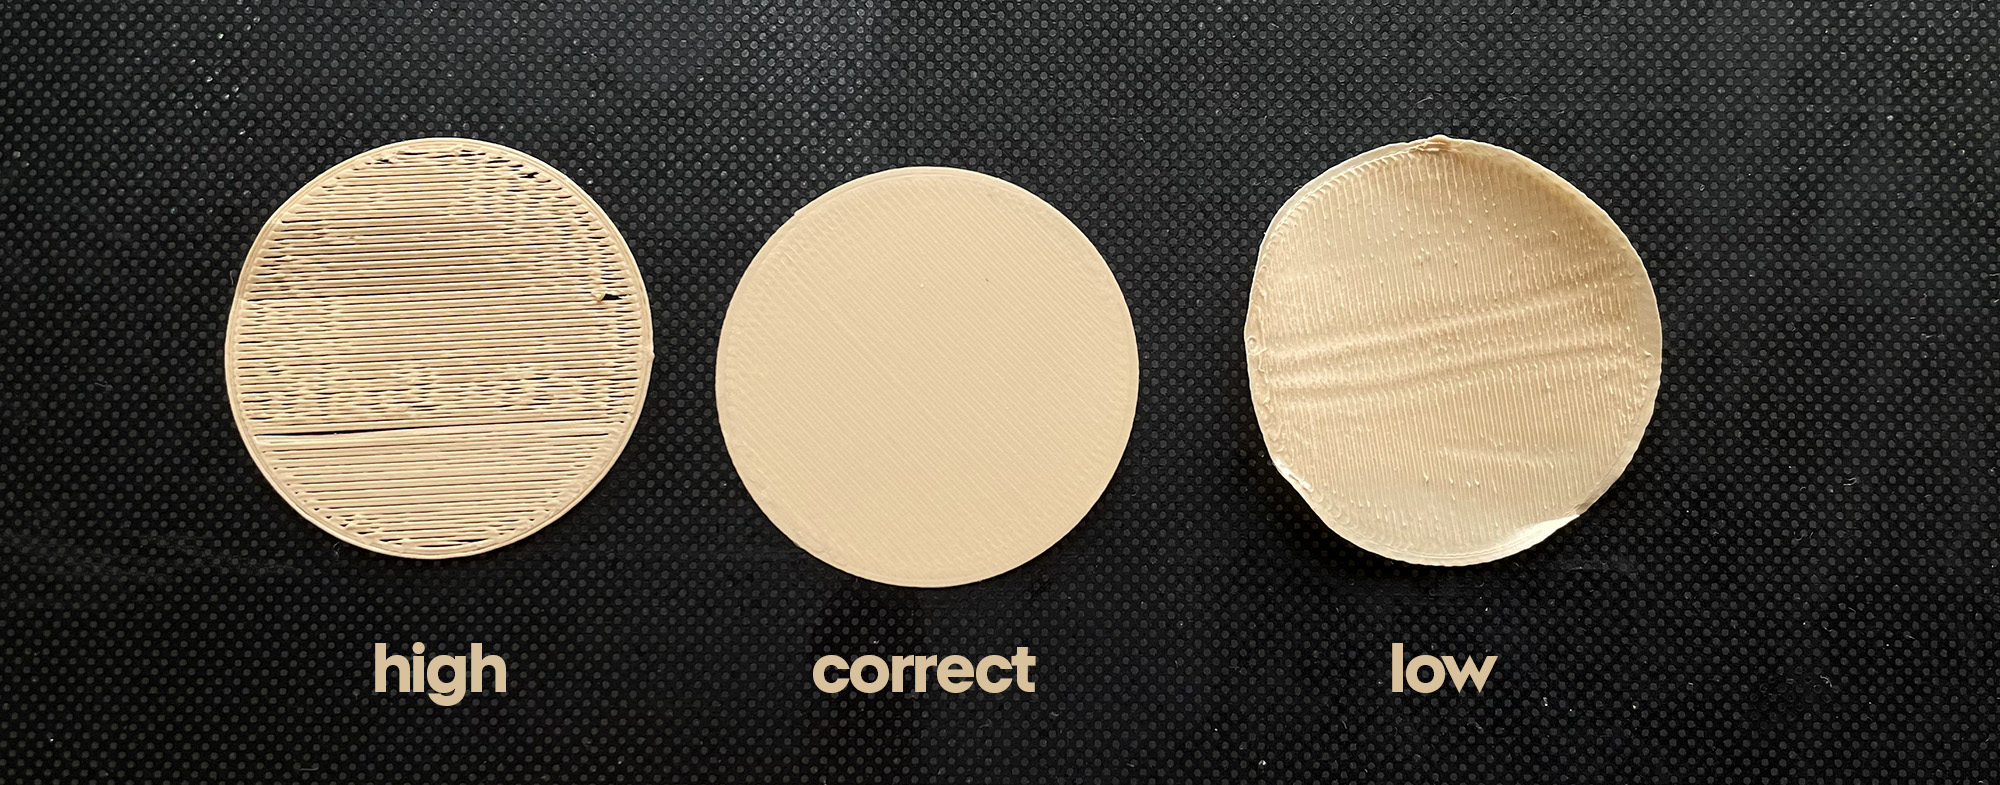
Calibrating your 3D printer correctly is fundamental to achieving exceptional results. Your initial focus should be on ensuring the alignment of your print bed with the print head, with detailed instructions typically provided in your 3D printer’s manual.
A well-calibrated printer produces layers that seamlessly adhere to one another, devoid of any gaps or overflow. When there are visible gaps between layers, it indicates that the print bed is set too high, while an excessive amount of material overflowing suggests the bed is too low. If the print appears entirely invisible, it’s an indicator that the bed level is significantly too low.
A noteworthy point to consider: when printing watertight models, you may need to increase the flow rate and allow for slight material overflow between layers. This technique ensures a solid connection between the layers, effectively preventing any gaps in your 3D prints.
Retraction and Flow
Managing retraction and flow settings, along with your filament profile, is crucial for achieving optimal 3D prints. These settings control how your 3D printer handles the flow of filament and retraction, which is the process of pulling filament back into the nozzle to prevent oozing between moves. While some printers, like those from Bambulab, simplify the process by offering pre-configured settings for their materials, it’s essential to understand these settings for other filaments. Adjusting retraction and flow rates ensures precise layer adhesion, minimal stringing, and clean, professional-looking prints.
Retraction settings can vary significantly among printers, primarily due to the distinction between direct and Bowden-style extruders. We strongly advise reading the manufacturer’s guidelines for your specific printer. It’s also beneficial to seek insights from the 3D printing community, learning from other users’ experiences. Conducting test prints is undoubtedly the most effective way to fine-tune your retraction settings. If you notice stringing issues in your prints, consider increasing the retraction distance. On the other hand, if you encounter gaps or imperfections after travel moves, adjusting the Retraction Extra Prime Amount can help address these issues effectively.
Low retraction can result in the appearance of thin hairs during printing, which are commonly referred to as “strings” or “stringing.” Conversely, excessive retraction can lead to holes in the print. For certain materials, fine-tuning the extra material settings after retraction may also be necessary.
Filaments
Filament selection plays a pivotal role in 3D printing, and a wide array of options is available to cater to various needs. Basic PLA, one of the most popular choices, is renowned for its ease of use and versatility.
Matte PLA offers a more refined, non-glossy finish for aesthetically pleasing prints. Composites like wood or carbon filament combine PLA with real wood or carbon fibers to add texture and strength to your creations.
For robust and durable prints, resistant filaments such as PC (polycarbonate) or nylon come into play, withstanding harsh conditions and mechanical stress.
Environmentally conscious users can opt for recycled or compostable filaments that minimize the ecological footprint of their prints.
Meanwhile, flexible filaments introduce a world of possibilities for producing rubber-like, bendable objects, like our travel accessories or shoes.
PC Carbon

Wood
Matte PLA
TPU
Fuzzy skin
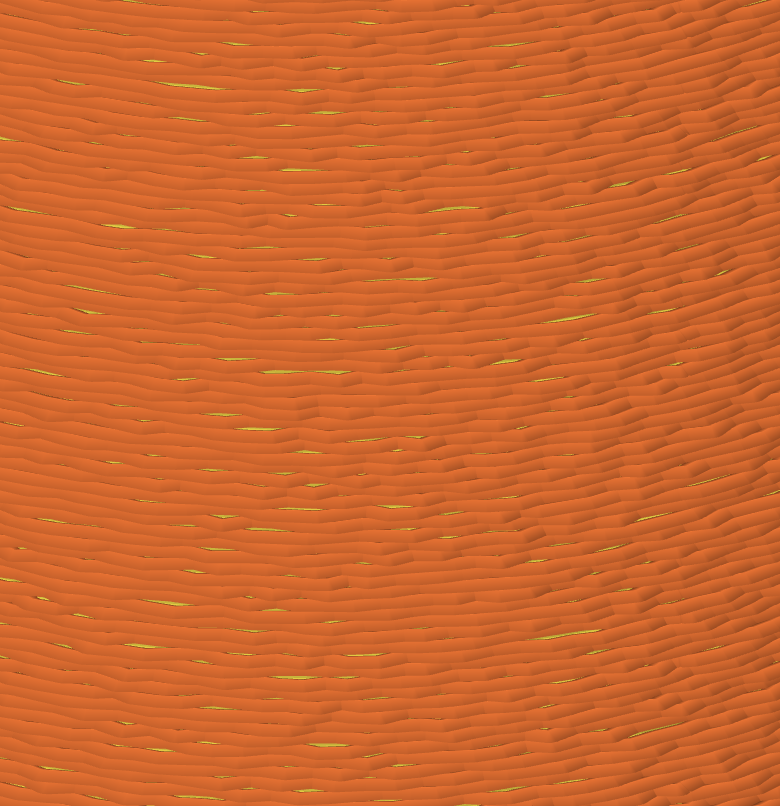
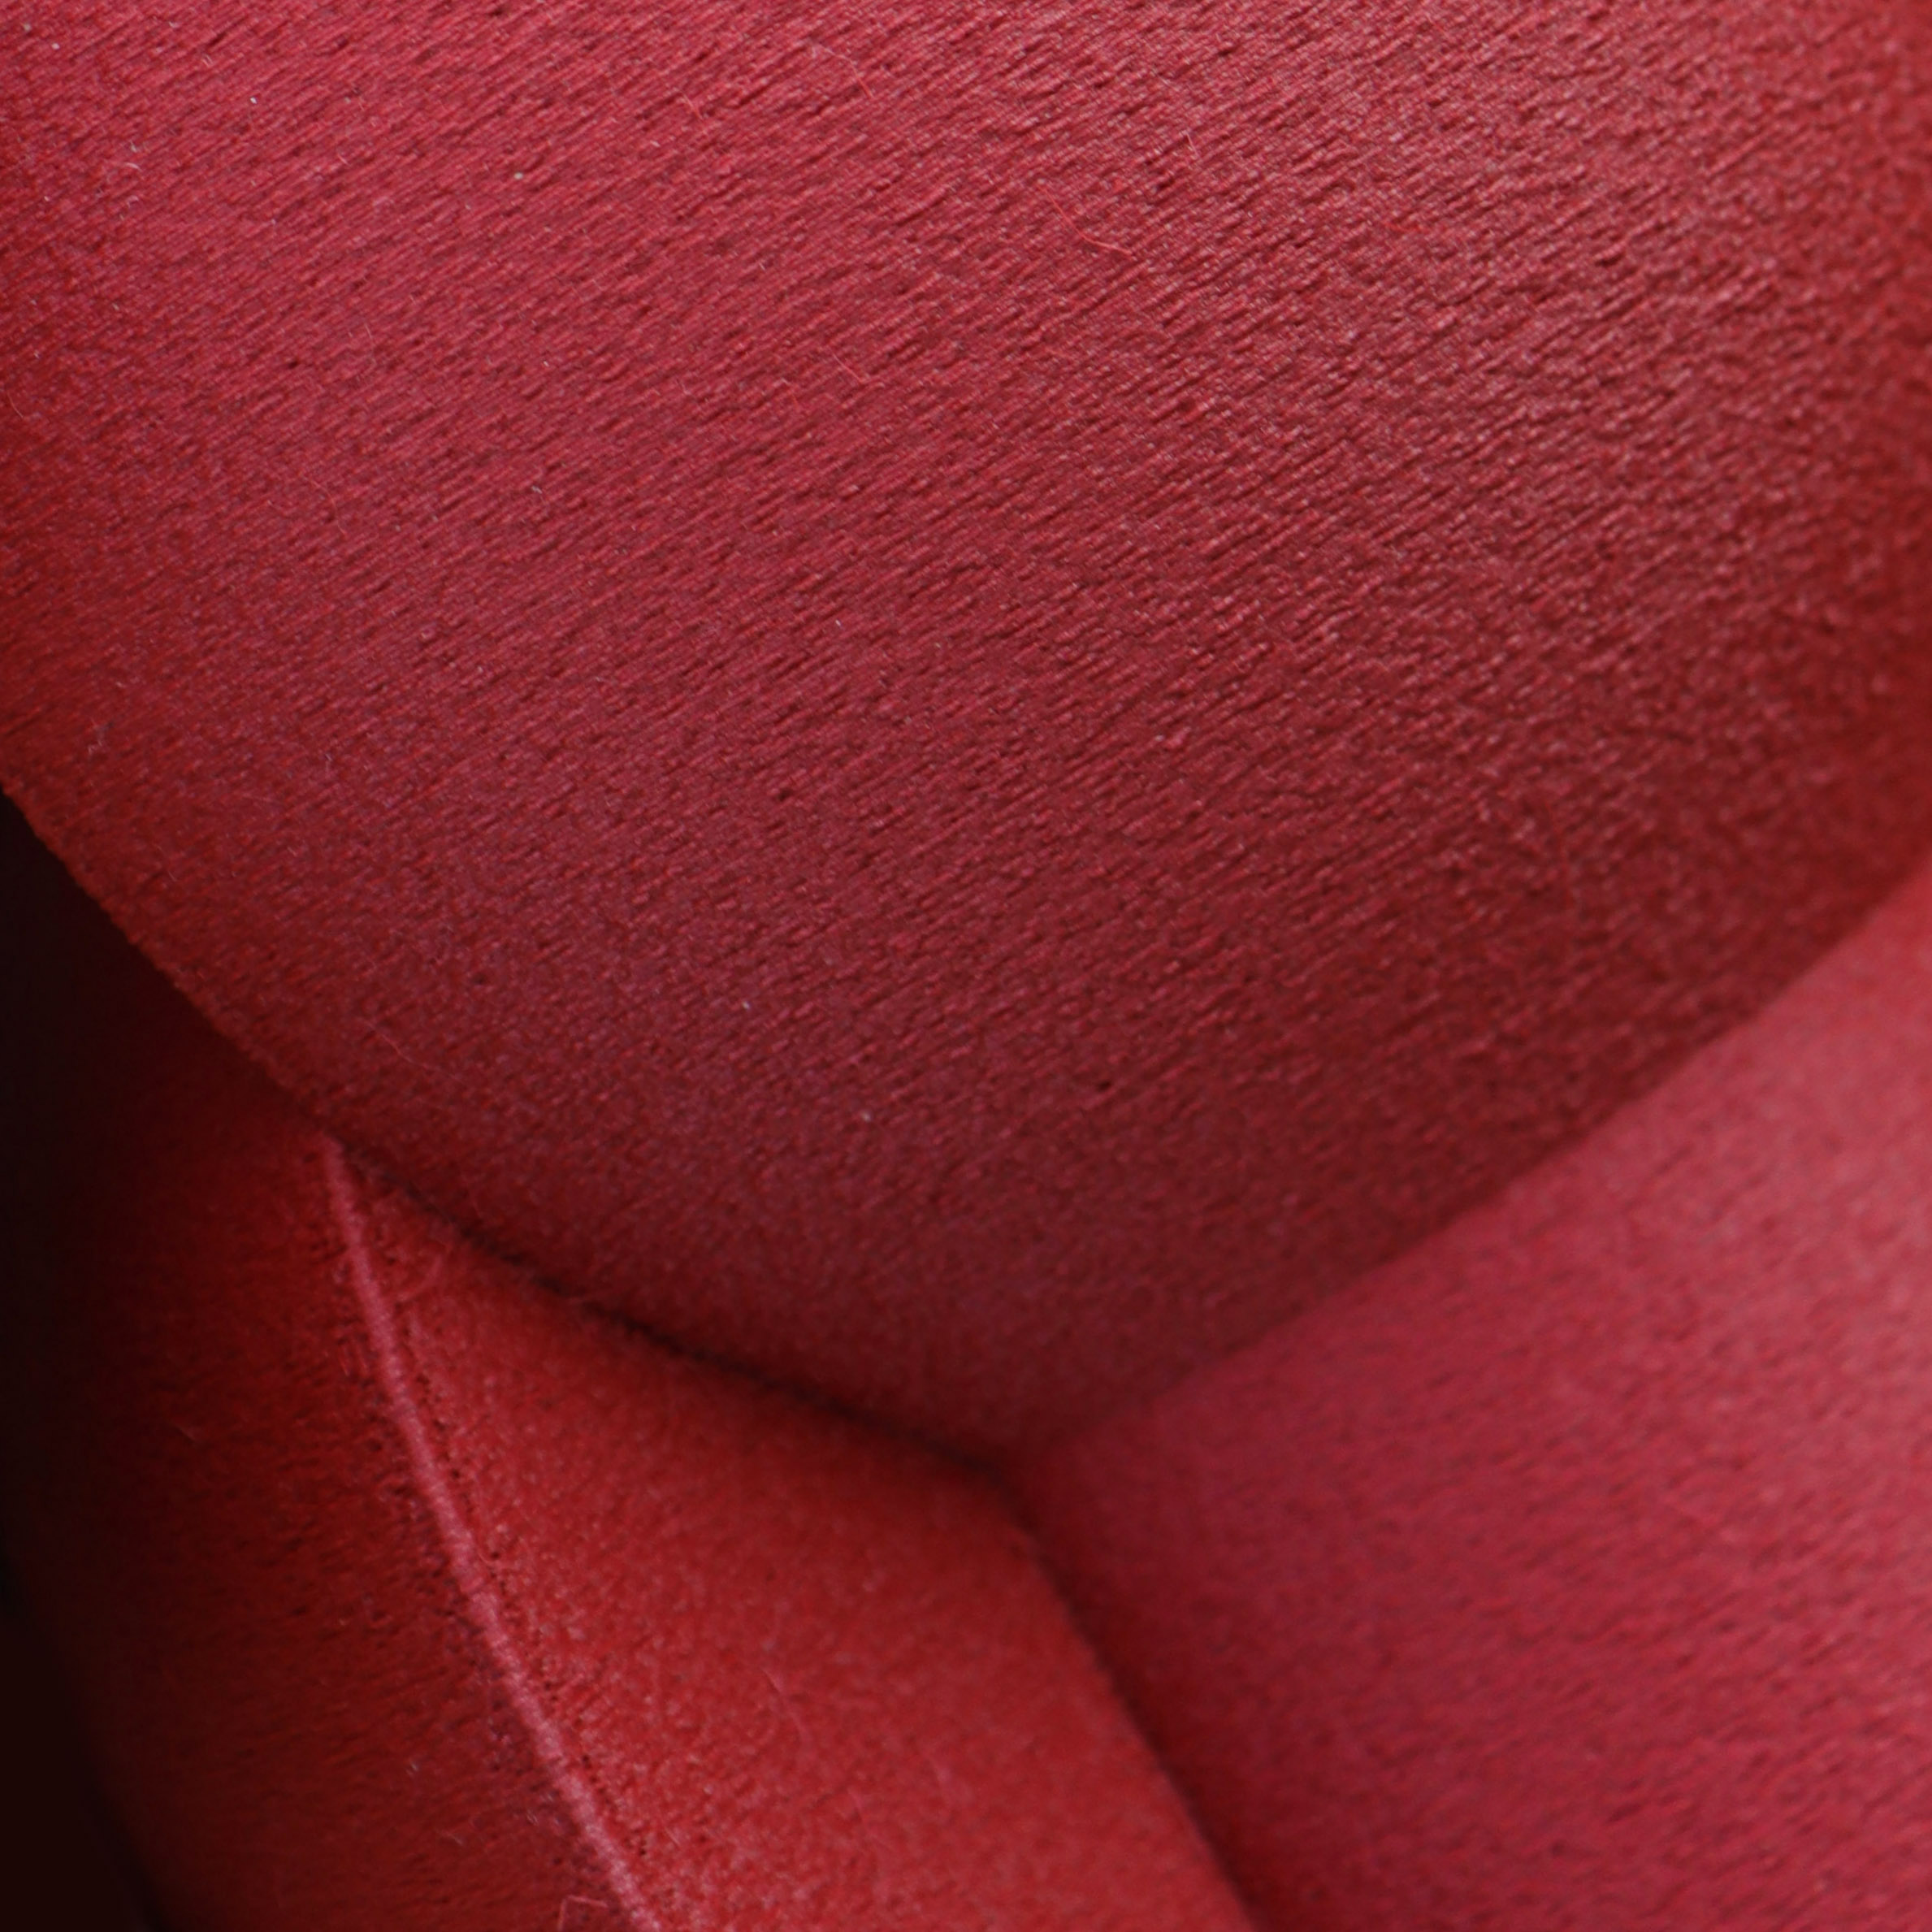
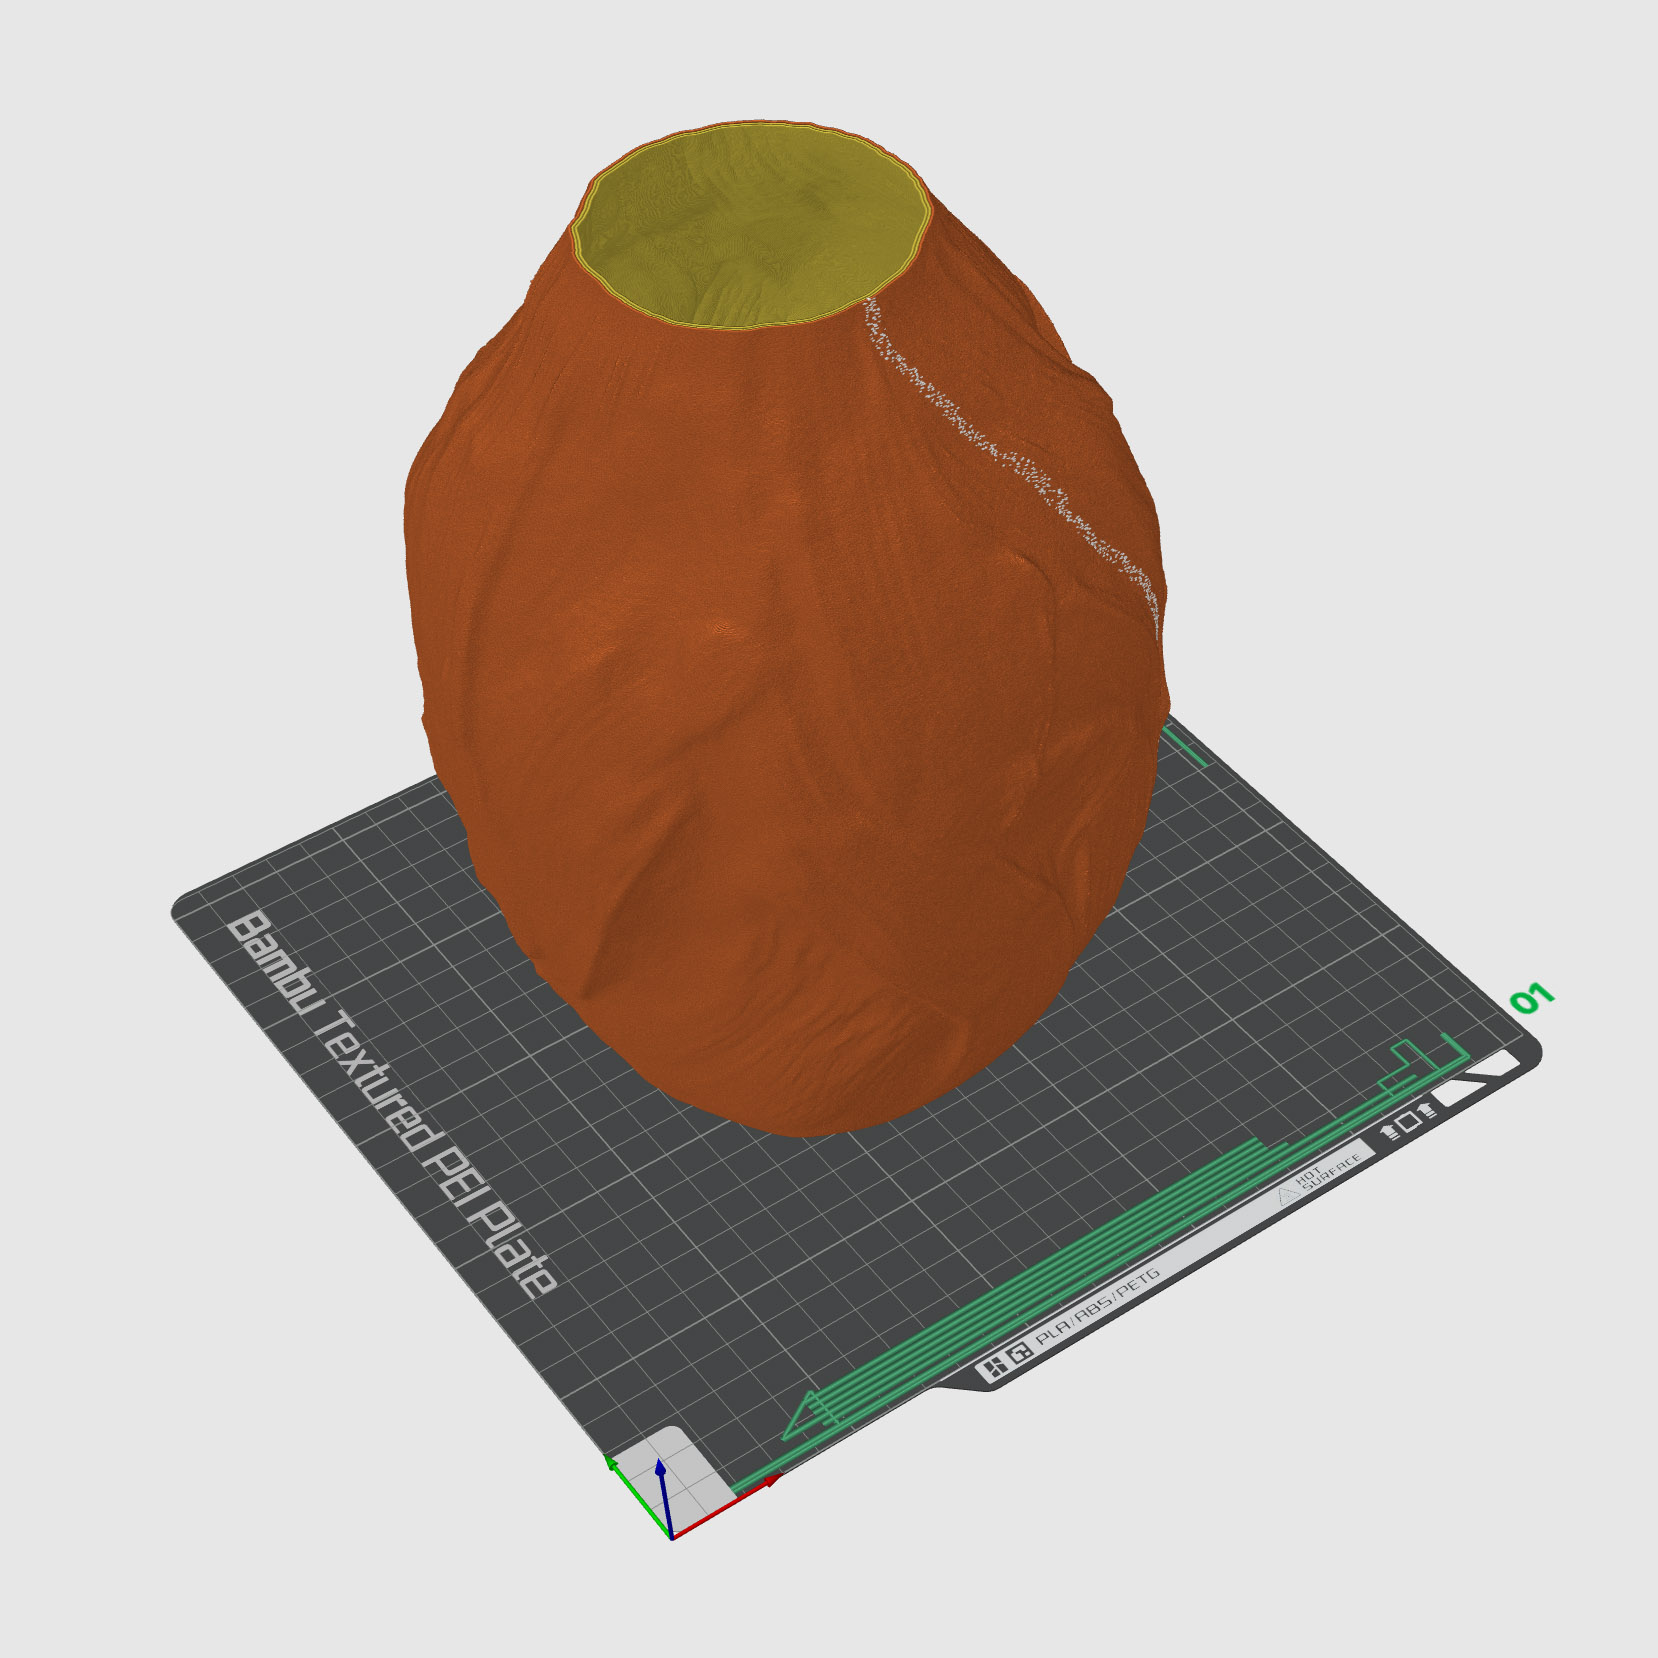
You can use fuzzy skin setting to distort the print path and hide the print layers. By default, the preset dimensions are relatively large in relation to the height of the layers for a fantastic grainy textured effect. By adjusting the setting to a finer density, you’ll achieve a nicely fine-grained surface texture.
This finer texture is helpful when using classic semi-gloss materials such as PLA, ABS, or PET-G, as well as with elastic materials. You will get a nice matte-grained surface which can help to mask any imperfections in the slicing software or your printer. It takes a bit longer to print, but we think the result is most definitely worth it.
The first value we adjust is thickness. This determines how deep into the product the fuzzy skin will extend. We usually print to a depth of 0.1mm, and below that the result often starts to fade due to the quality of the printer.
The second value we adjust is the point distance, which is also somewhat dependent on the size of the object and the height of the layer. It will greatly increase the printing time if it is completely fine. The best effect is achieved if we reduce this value to a minimum and practically from the shaky lines we achieve something like in matte surface finishes – fine points, which will therefore be similarly wide as they are high. With a height of 0.2mm, the point distance could be similarly 0.2mm – 0.1mm
Point Distance: 0.4

Point Distance: 0.1
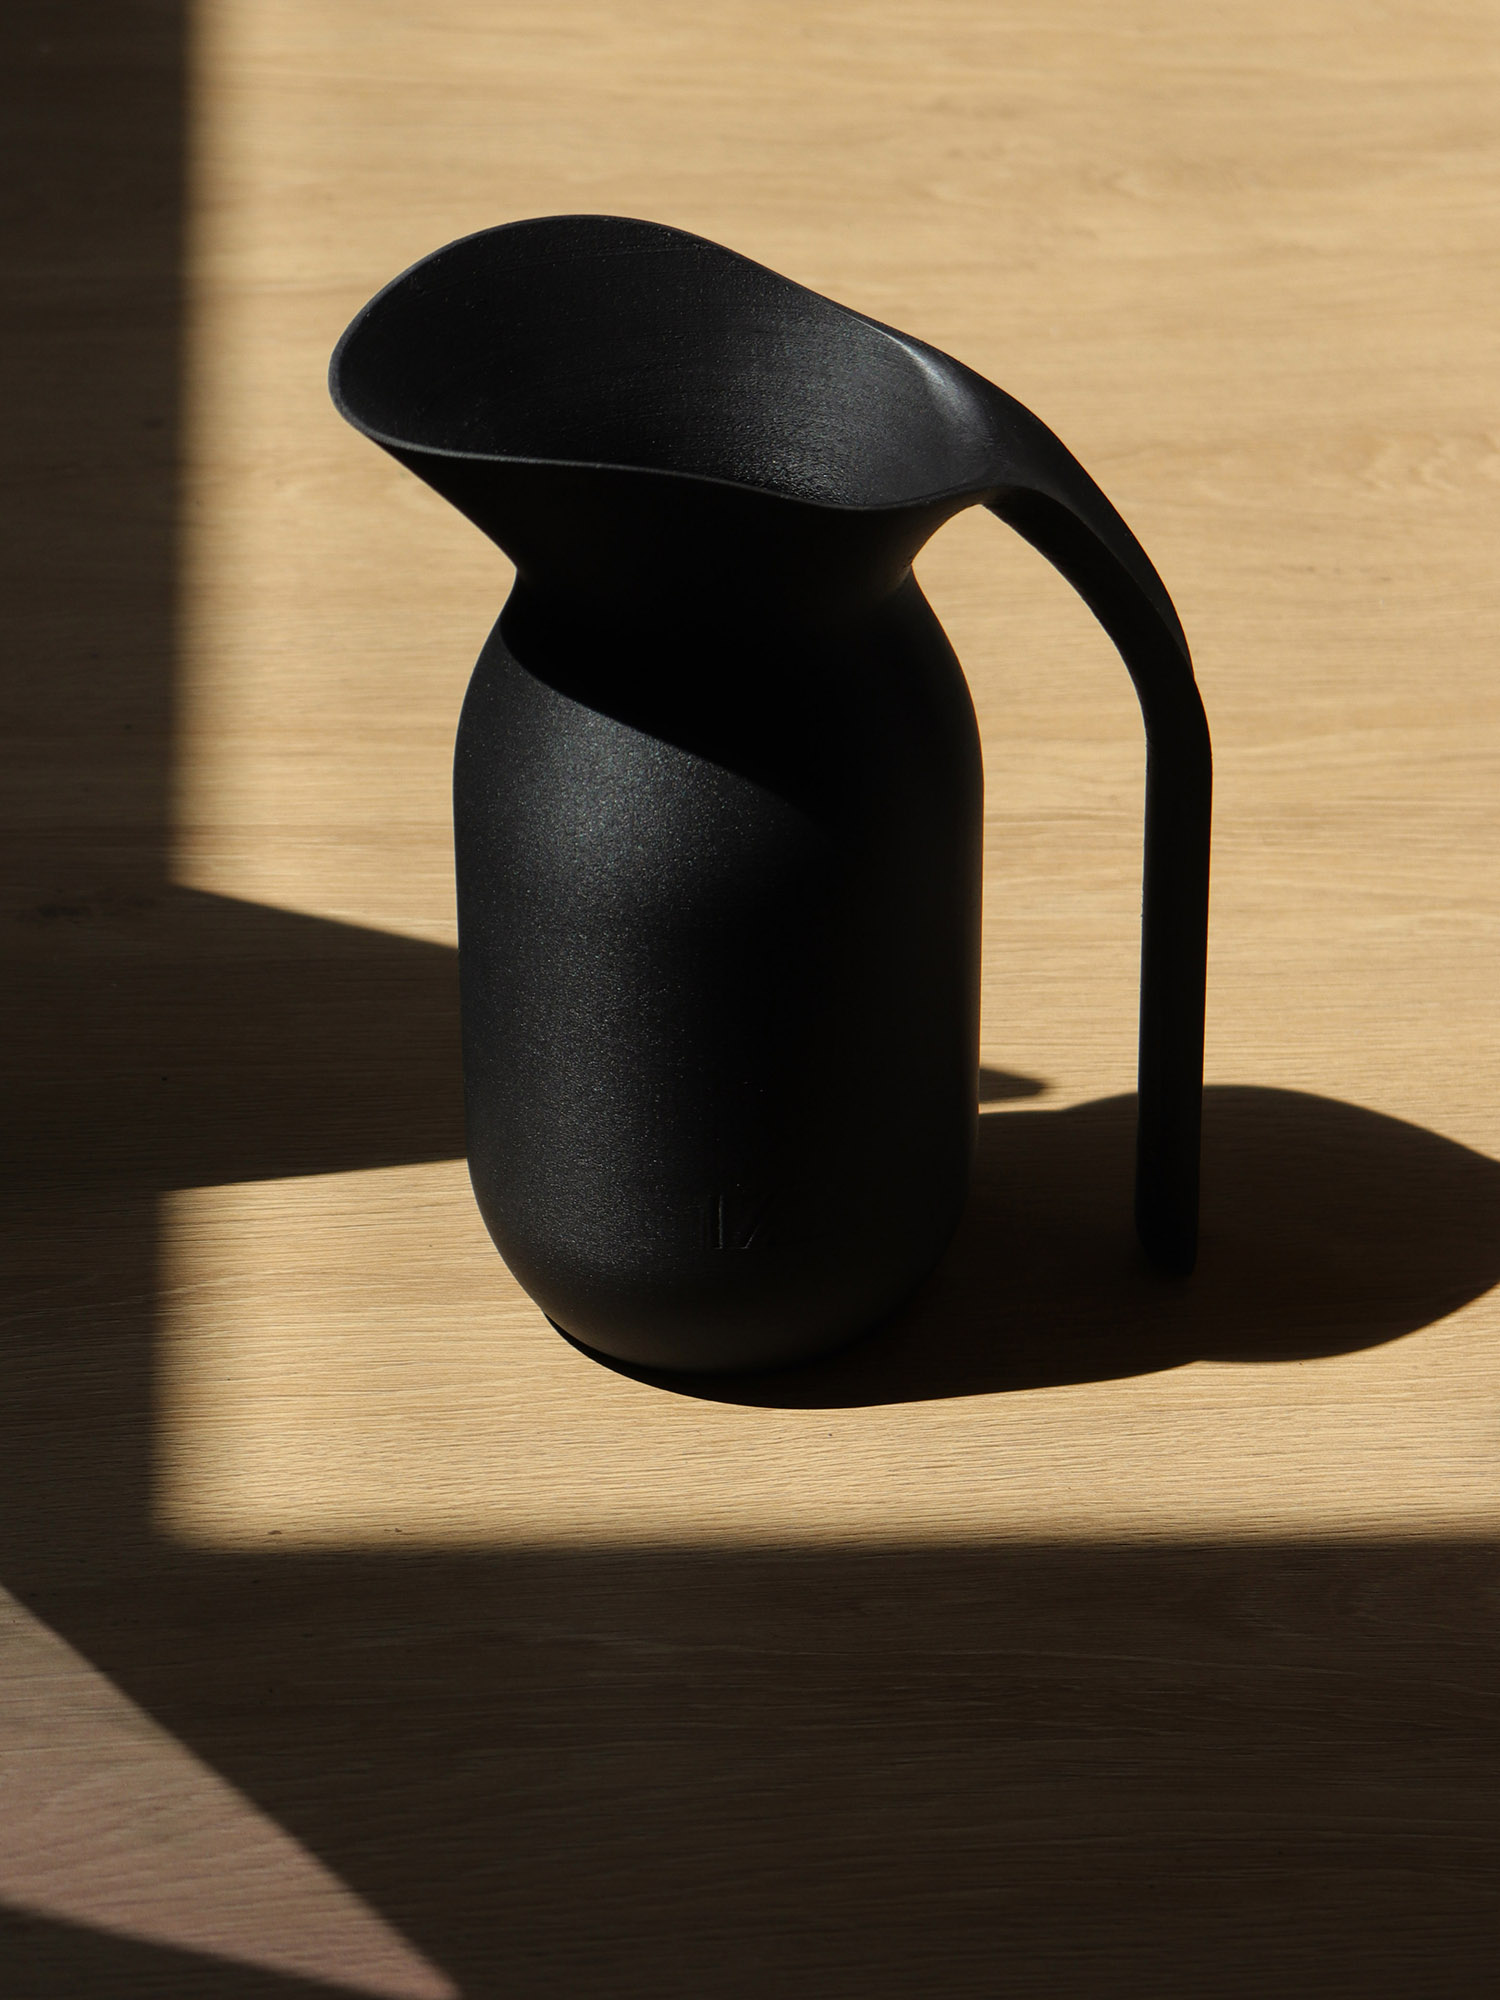
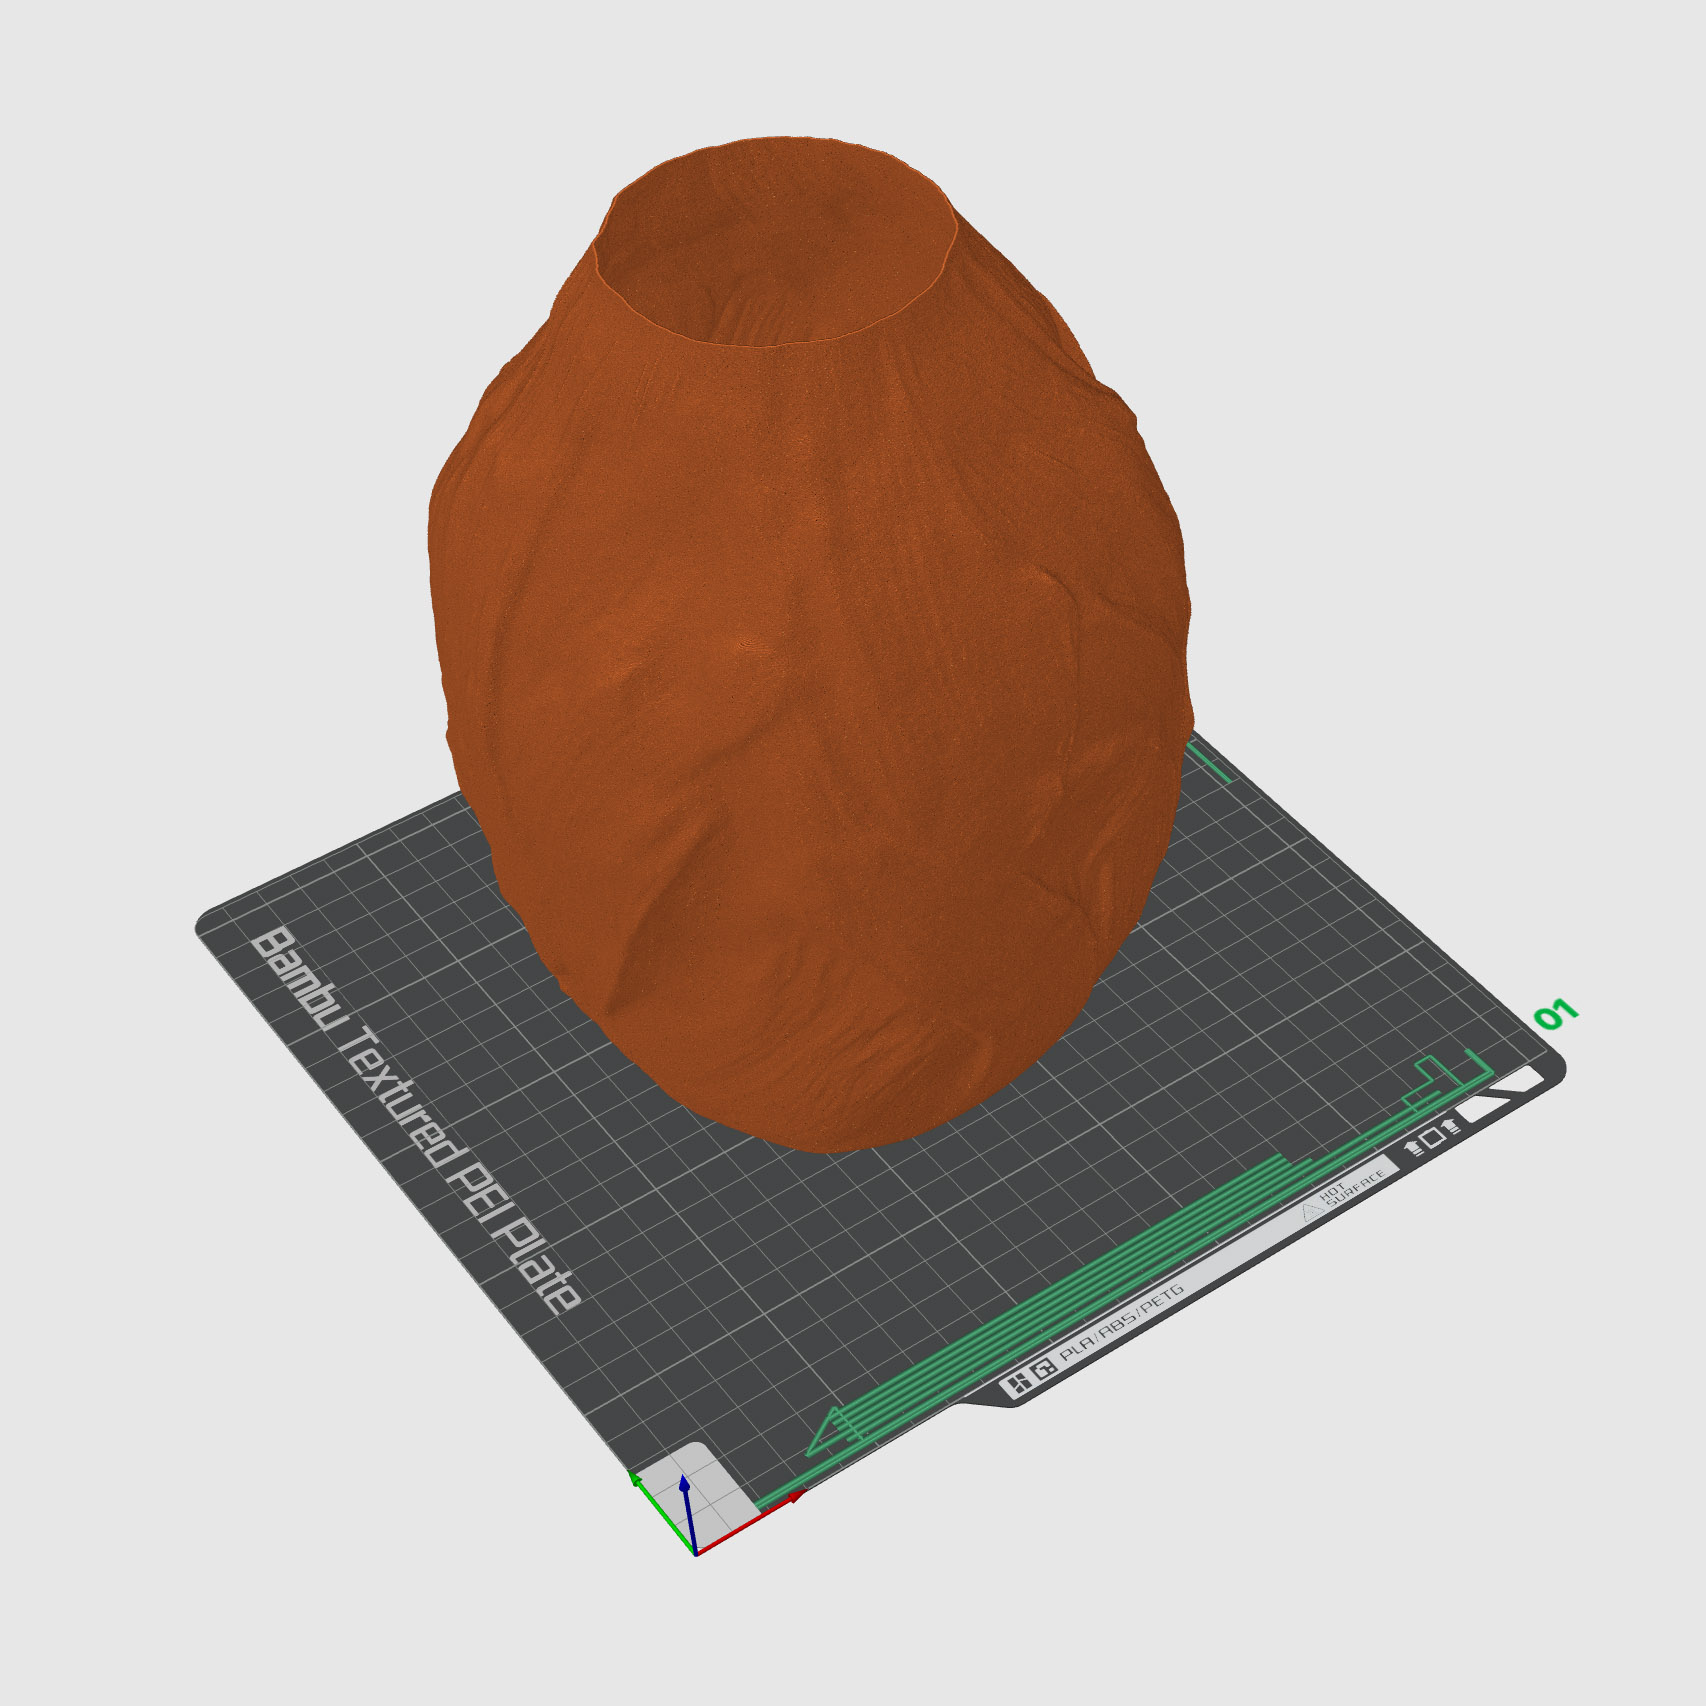
Printed Example (Coalescence Vase):
Fuzzy Skin Thickness: 0.1 mm
Fuzzy Skin Point Distance: 0.4
Layer Height: 0.2 mmm
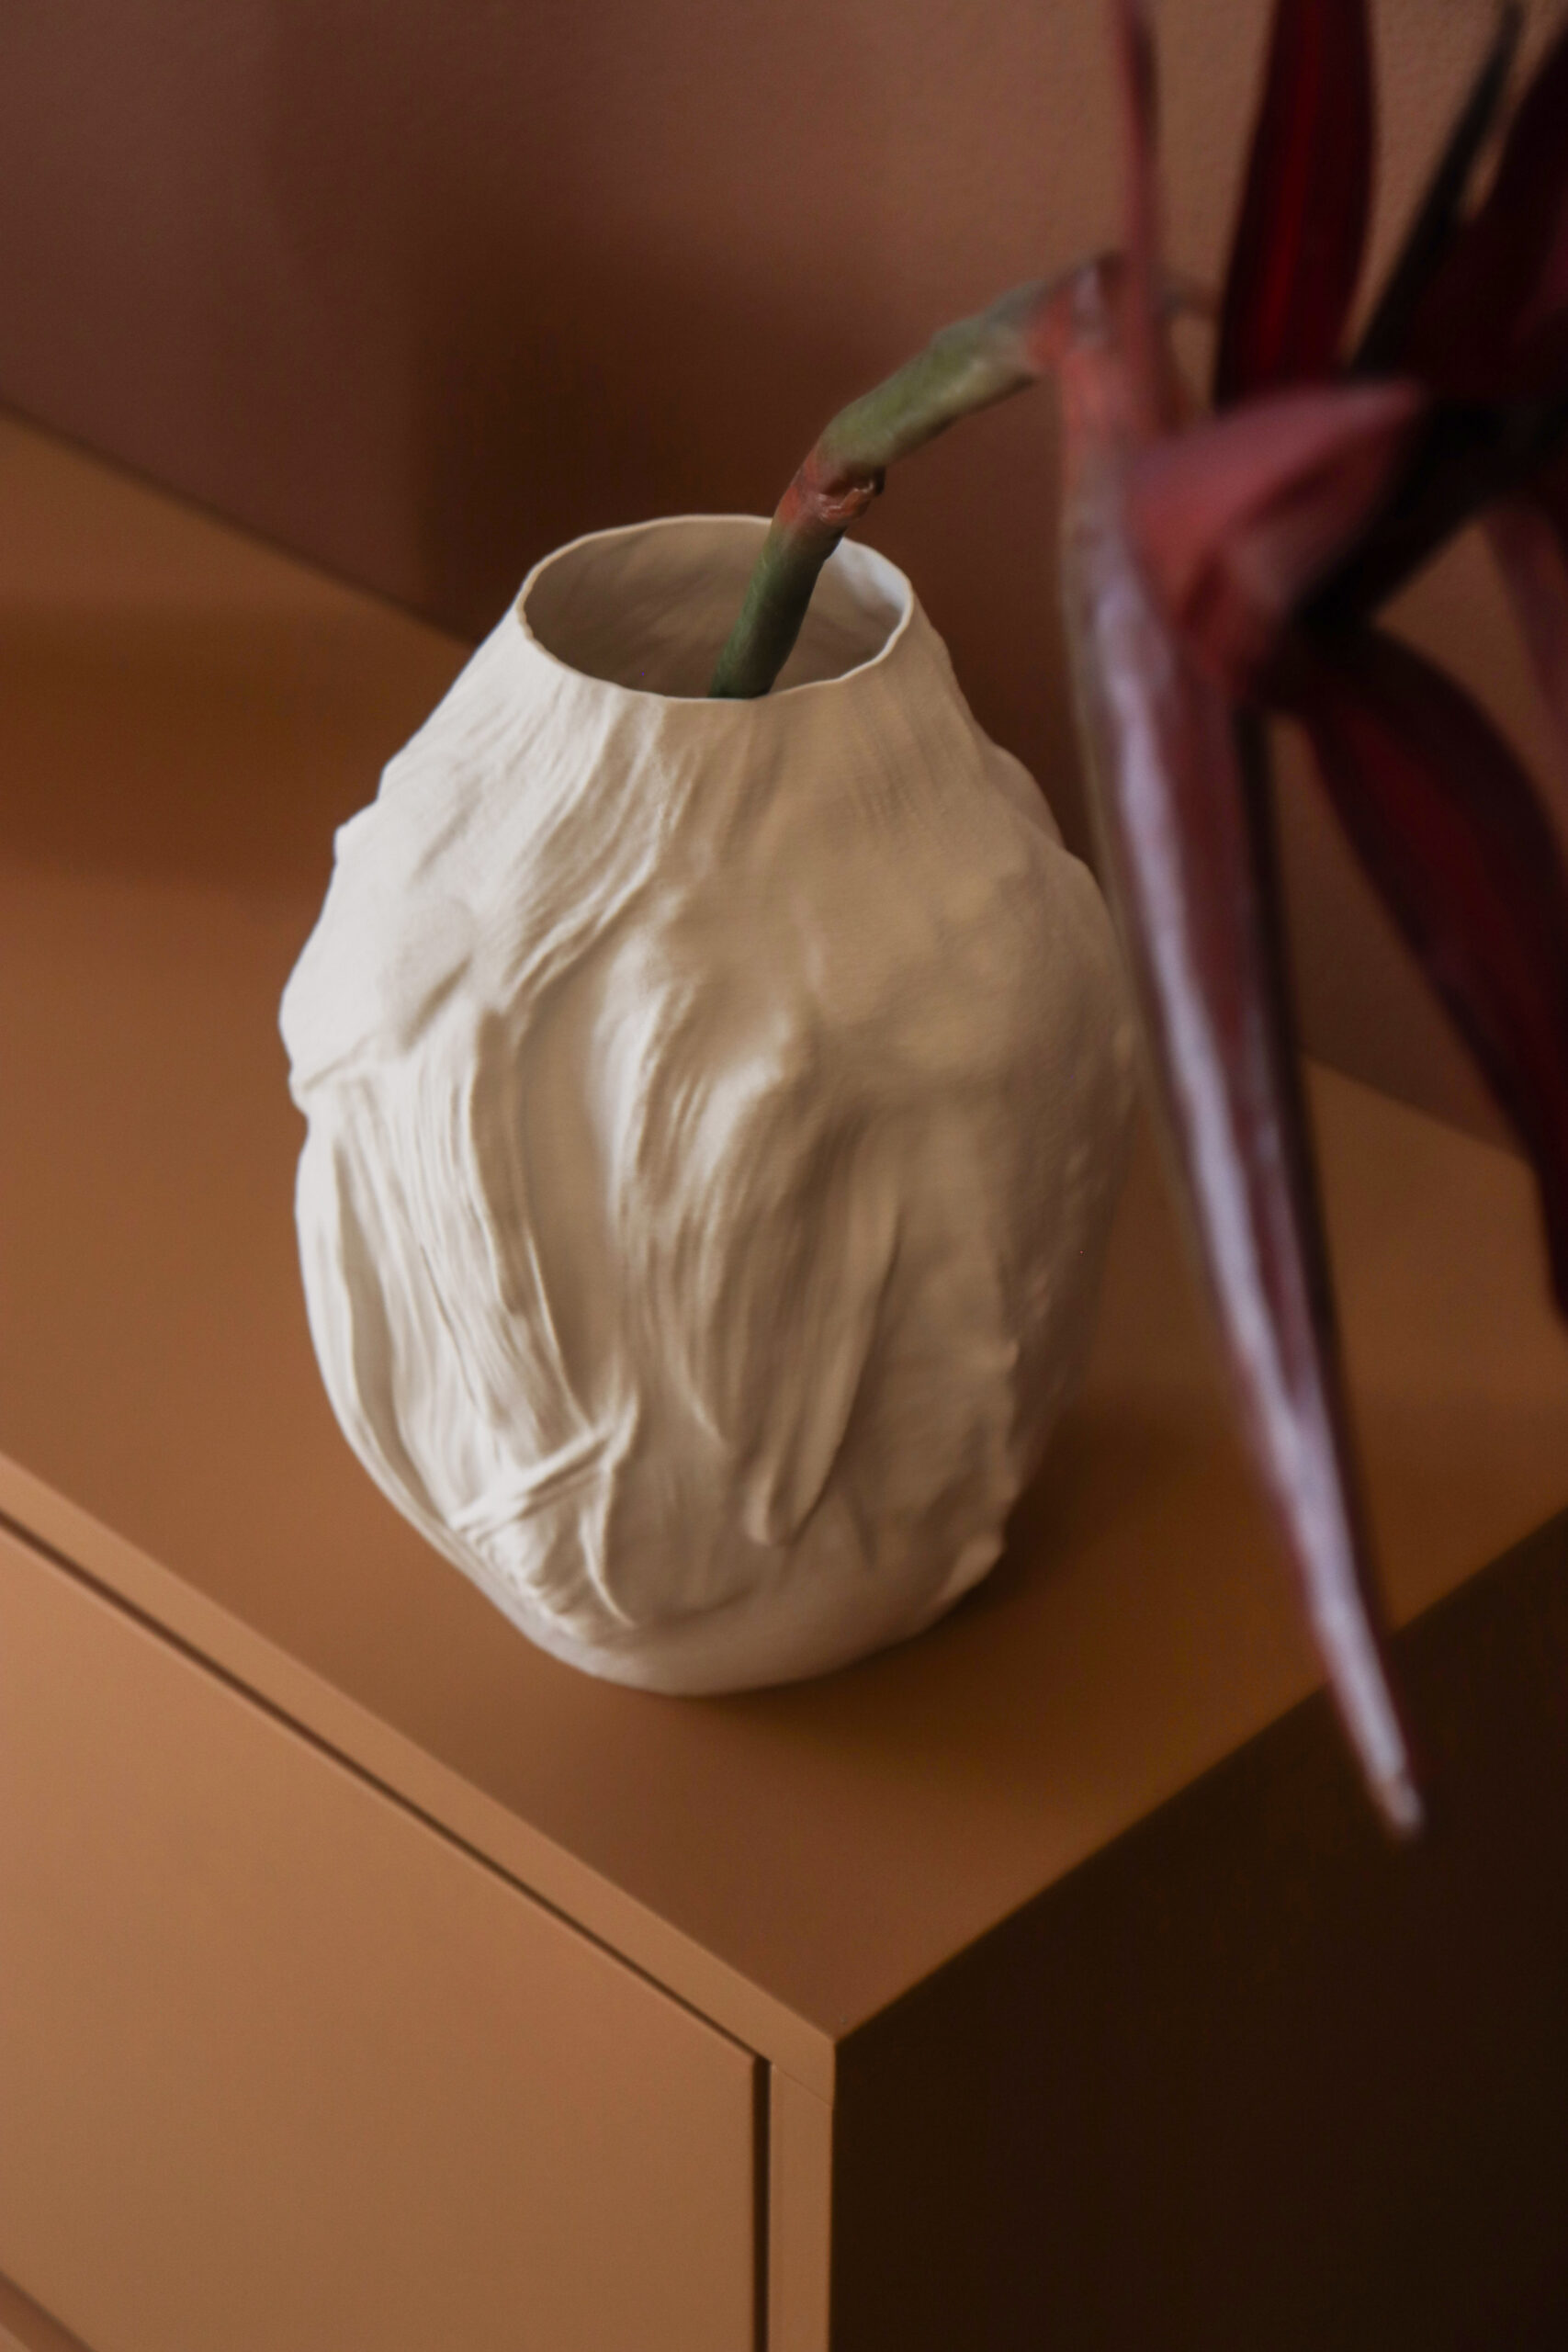
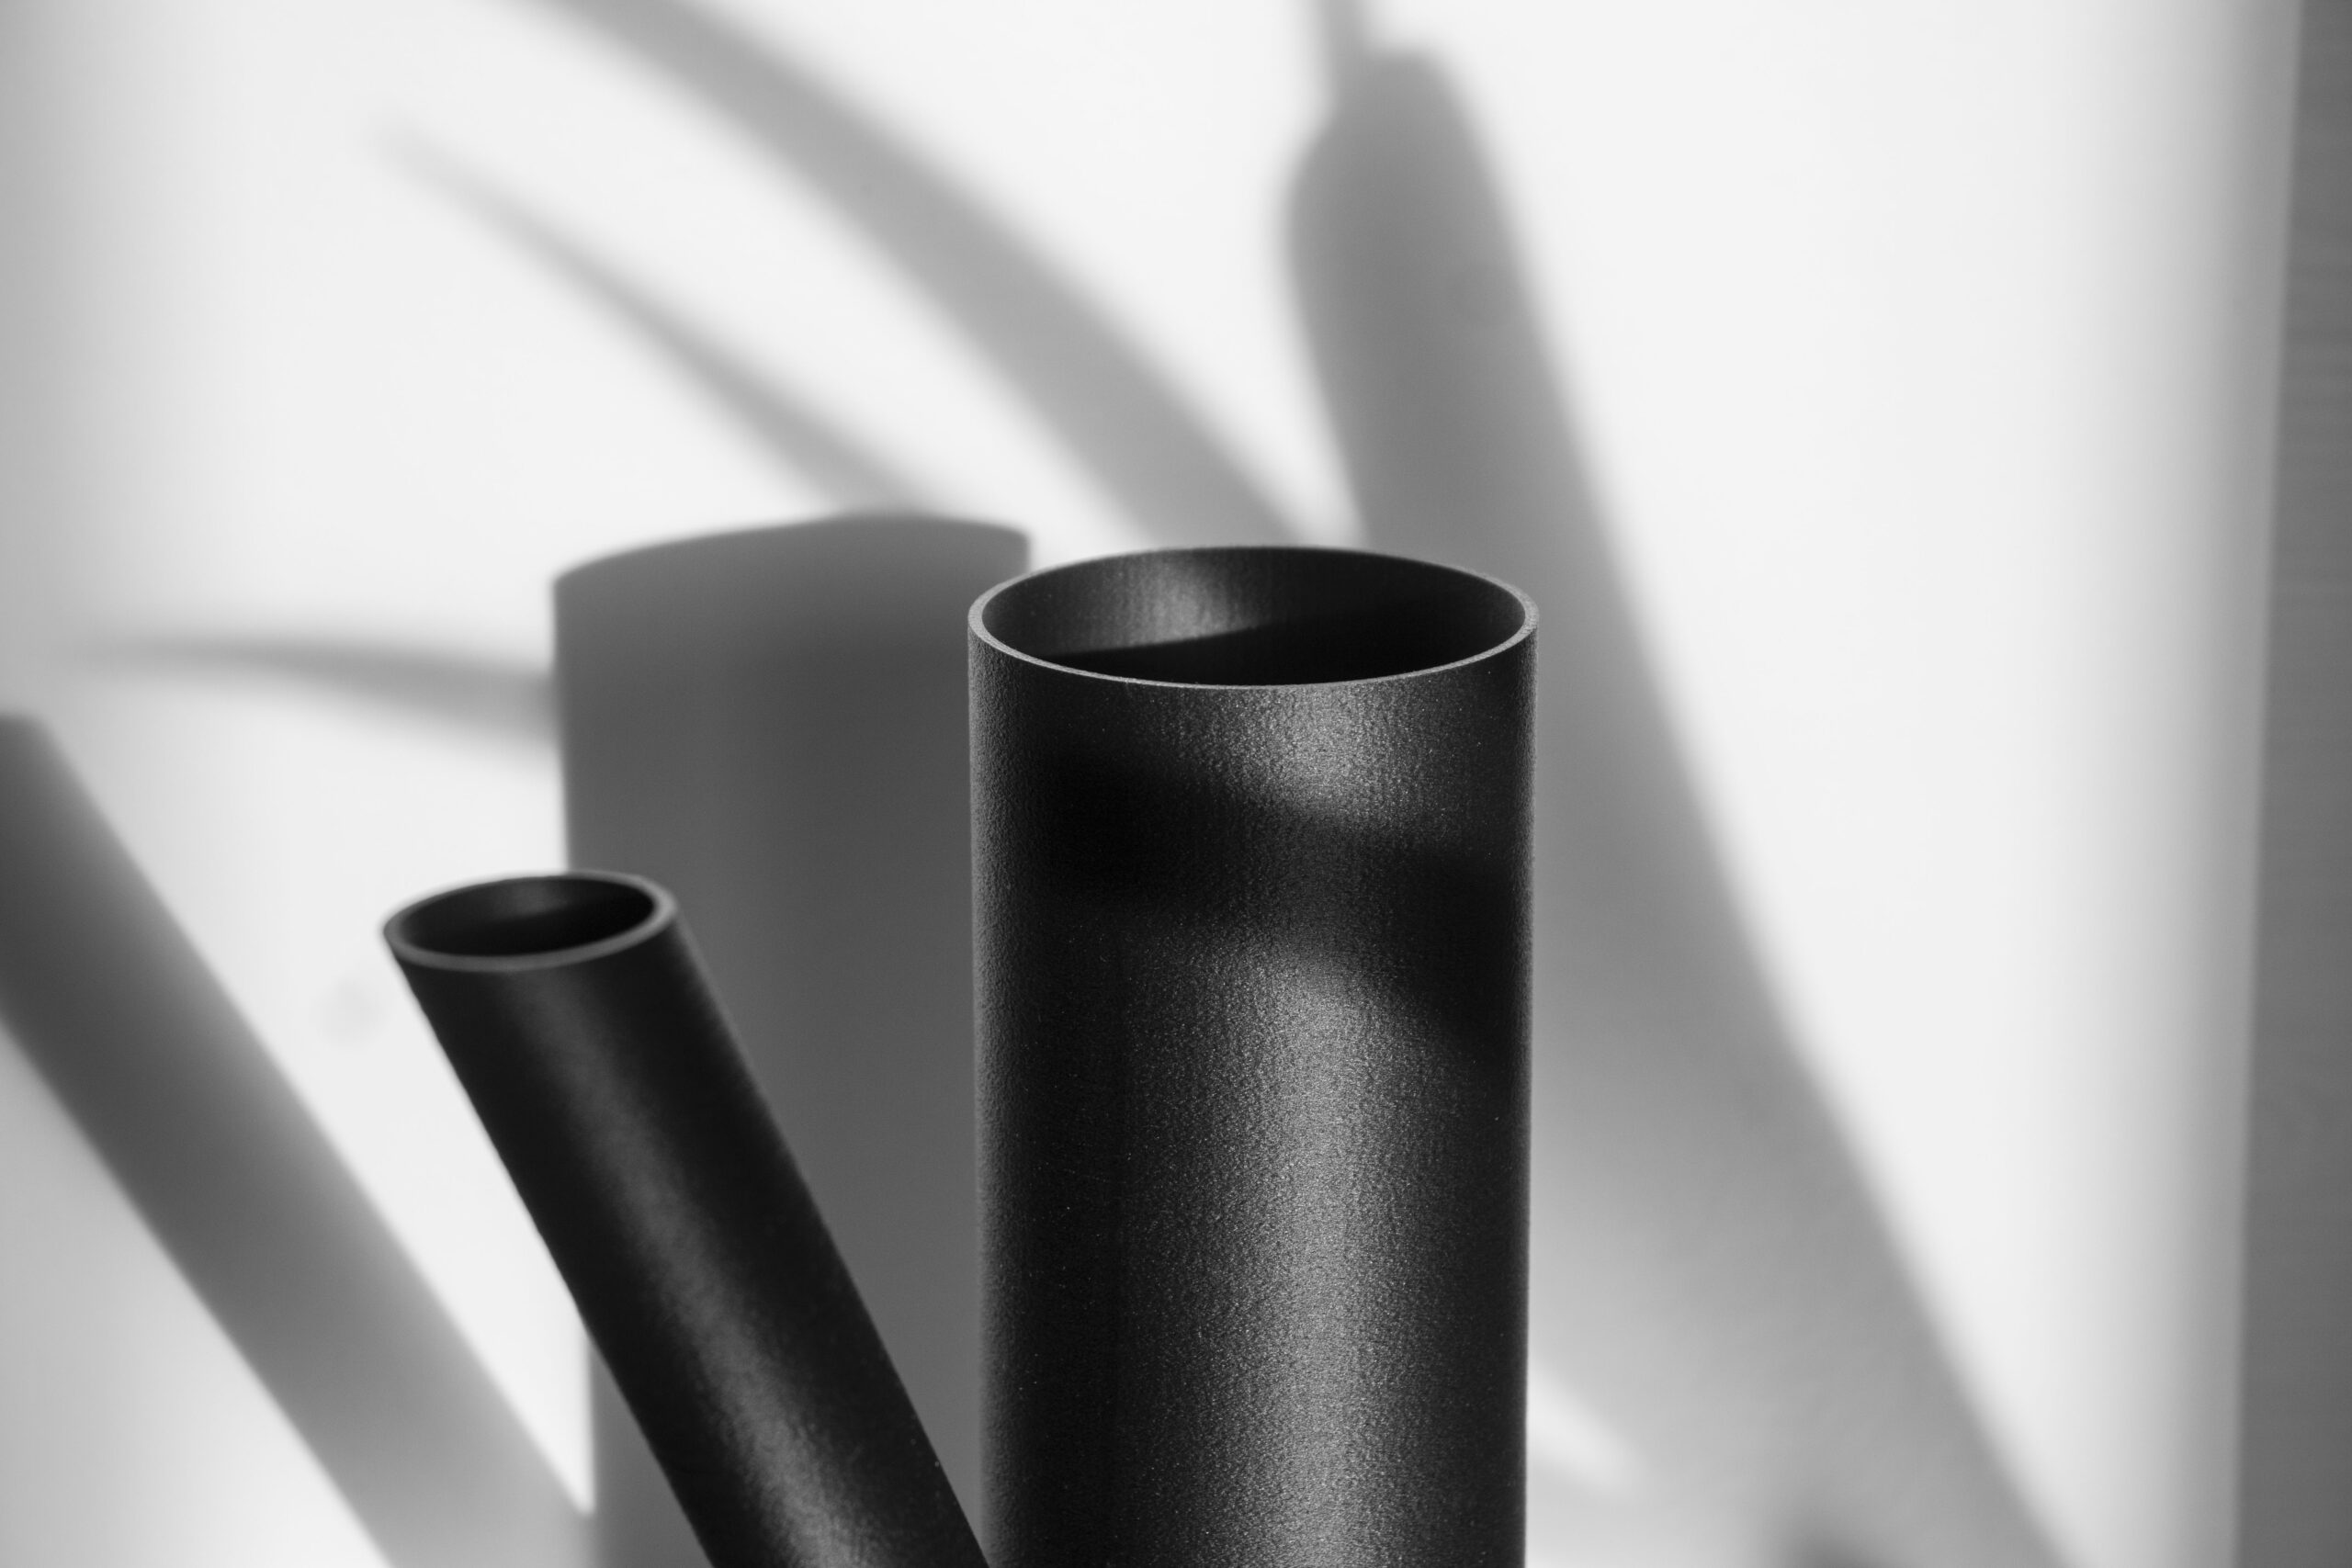
Bowls & Vases
The majority of our vases and bowls are in full-body mode, which allows for dynamic slicing. What does this mean? You can print vases in any size with any nozzle diameter. There are also two ways to do it.
One is “Vase mode,” also known as “Spiralize outer contour.” This allows you to print the bottom with your desired thickness and the body in a single perimeter. Typically, you’ll need to use a nozzle size of 0.8 – 1mm to ensure the wall is not too thin. The advantage is that it’s a fast print, consumes little material, and has no seams. However, these results usually won’t hold water.
The second method is turning off Infill and Top layers, both set to a value of 0. This way, you’ll only print the bottom layers and the wall with multiple perimeters. This can help achieve a watertight result. Make sure your flow is higher and the layers are overlapping. For our iconic Embodied ideas, we recommend setting the seam through the paint seam feature and manually drawing the start and end. Print with larger nozzle diameter to save the time.
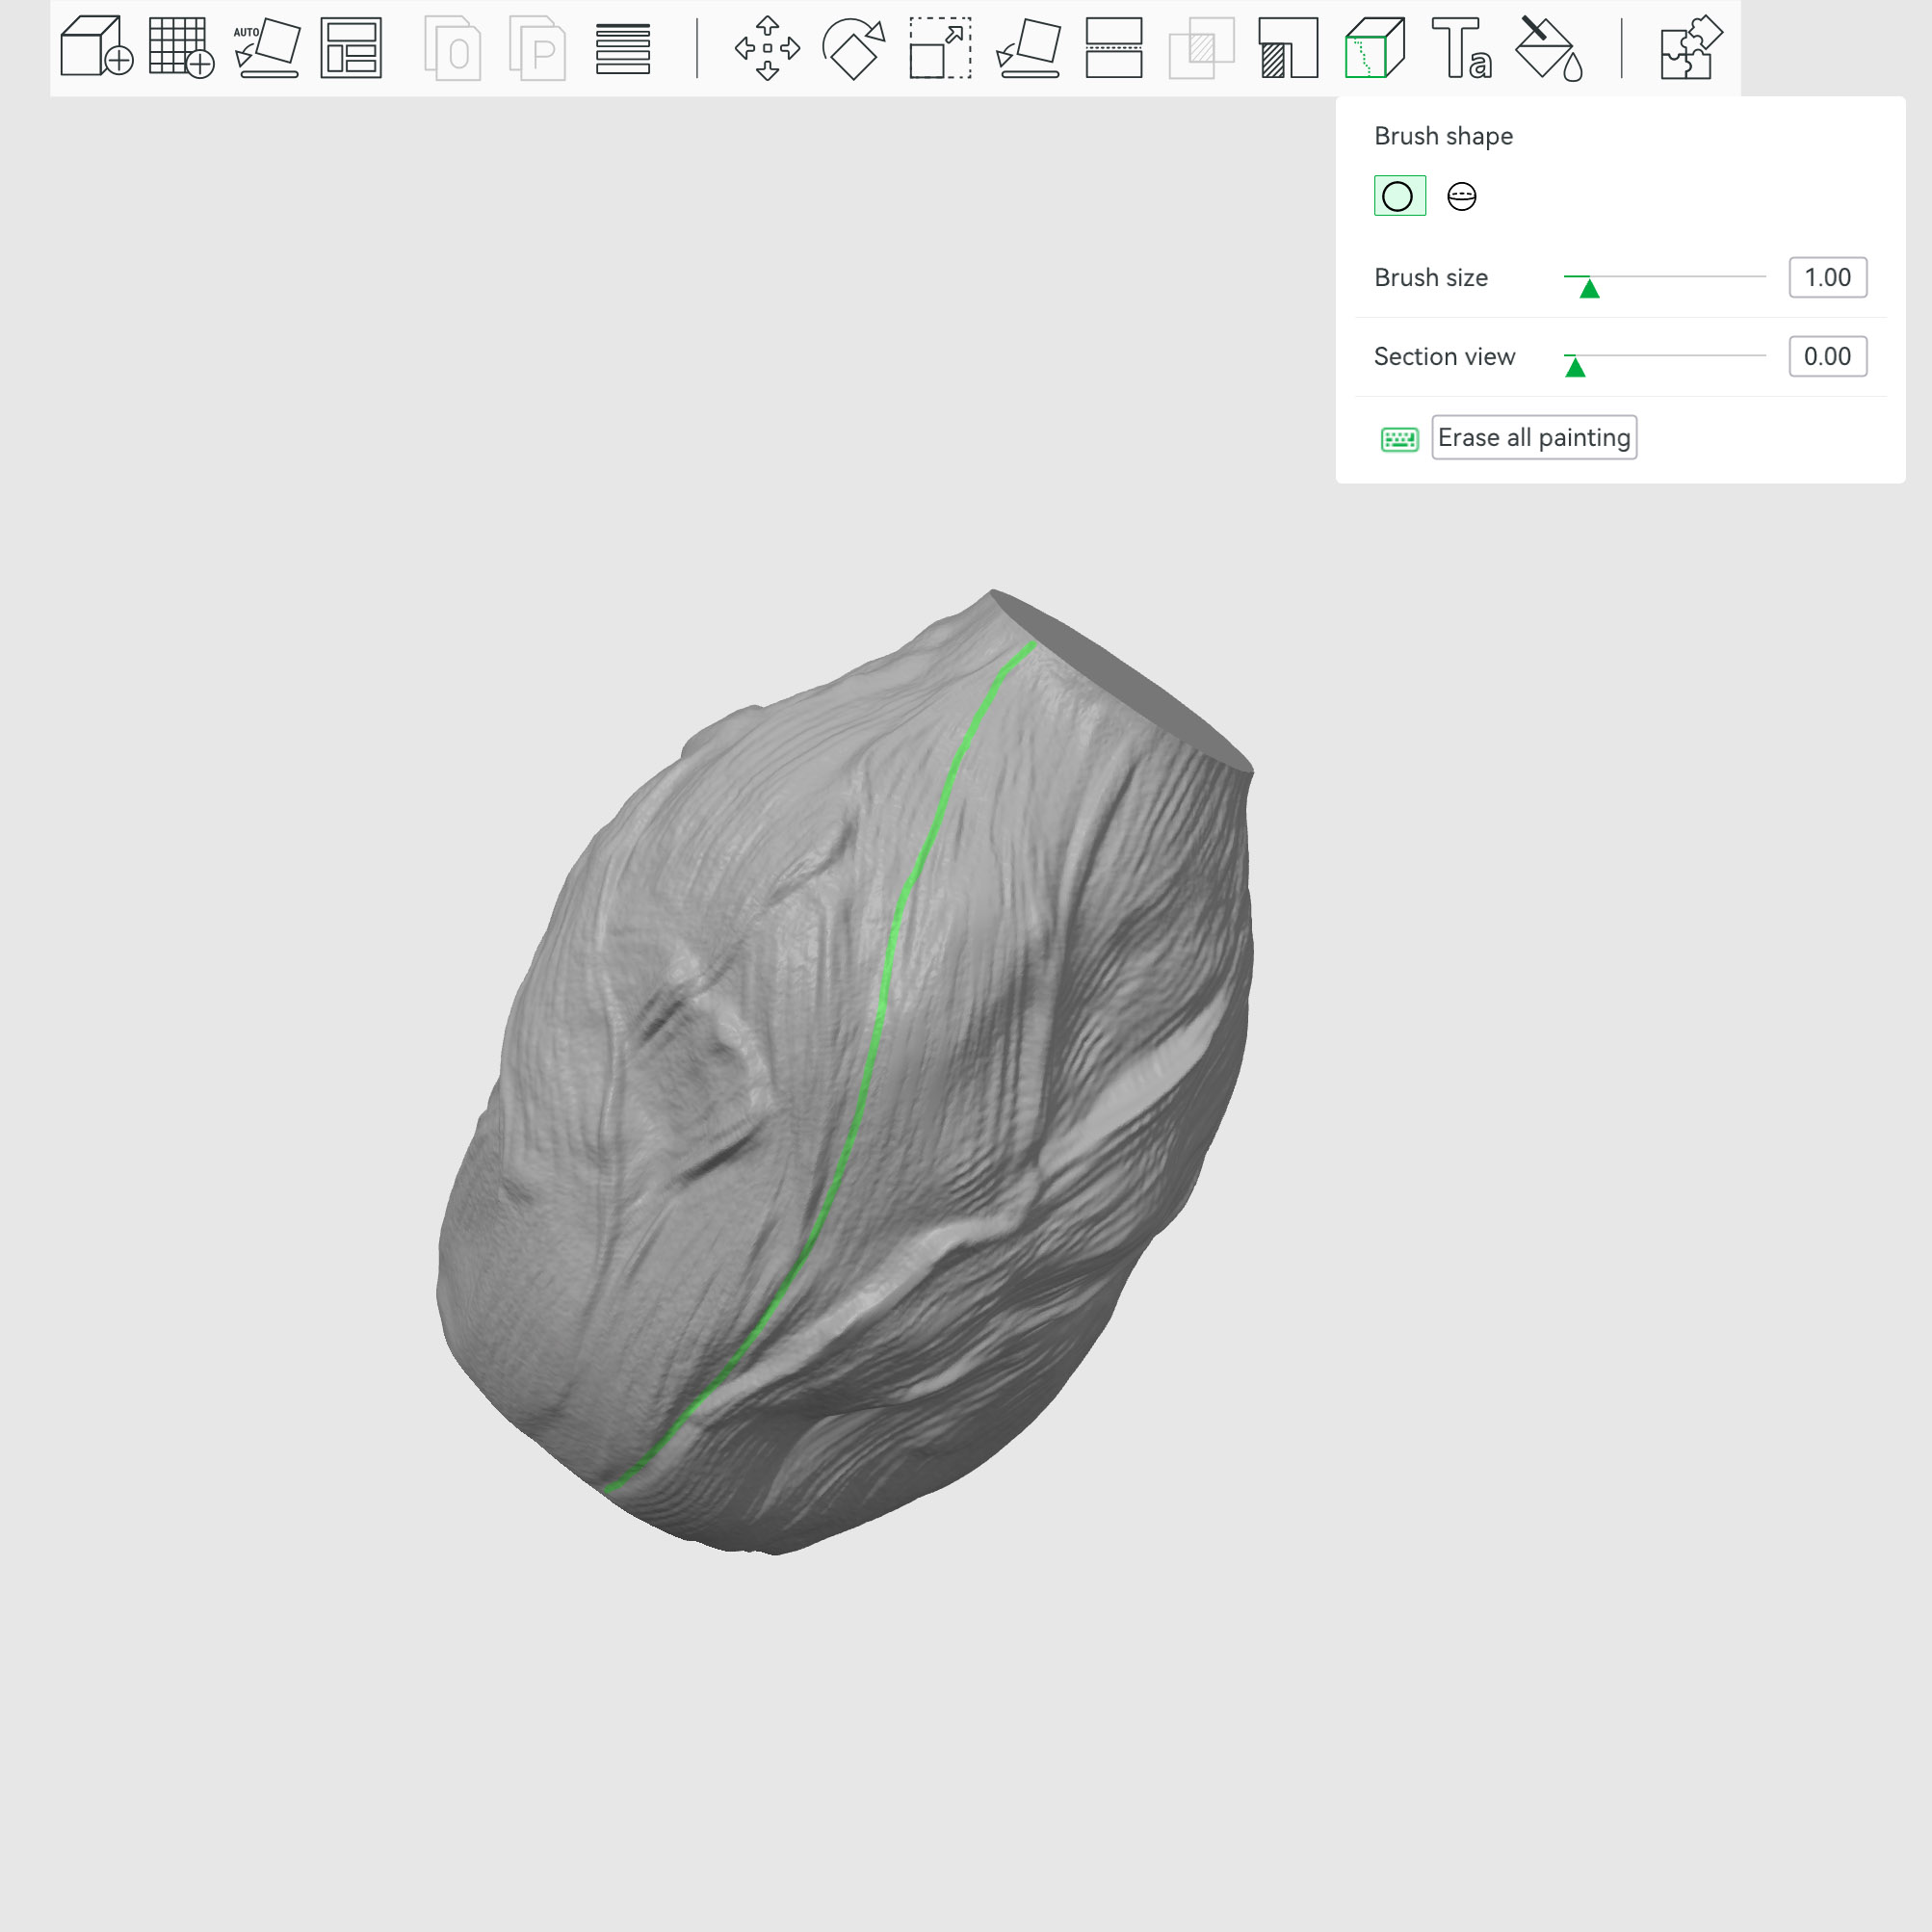
Seam Painting
Vase Mode
More Perimeters | Infill & Top Layers 0

Turn off Ensure Vertical Shell Thickness
For some time PrusaSlicer hid this option, but since version 2.9 it is possible to turn it off again. For our vases this is crucial because this feature adds unwanted partial supports along the edge of the wall, which increases the printing time and significantly degrades the final quality due to overruns, possible stringing and because they are inconsistent, with transparent materials it is visible from the outside.
Watertight 3D Prints
One crucial pro tip: avoid high-speed printing. Slower printing speeds consistently yield more accurate results, especially when aiming for a watertight finish. The primary objective is to maximize the density of the walls. If your 3D printer lacks the necessary weight for stability, the vibrations generated at higher speeds by most printers can compromise the watertight seal.
Achieving a proper bond between the layers is vital for watertight prints. To ensure this, print your design at the filament’s highest recommended temperature. You can even increase it by 5 degrees Celsius to enhance layer fusion.
When using the common 0.4 mm nozzle, it’s advisable to print with a layer height of 0.16 mm, or even lower. Thin layers adhere more effectively than thicker ones, enhancing the sealing capacity of your print.
When creating watertight bottom layers, forgo using infill. Instead, employ a classic linear pattern that overlaps individual layers. This approach minimizes the risk of gaps in your print.
To ensure there are no gaps between the perimeters and layers, increase the Flow (in Cura) or Extrusion Multiplier (in PrusaSlicer) to 105-110%. This adjustment won’t alter the design’s appearance but significantly improves its waterproofing qualities.
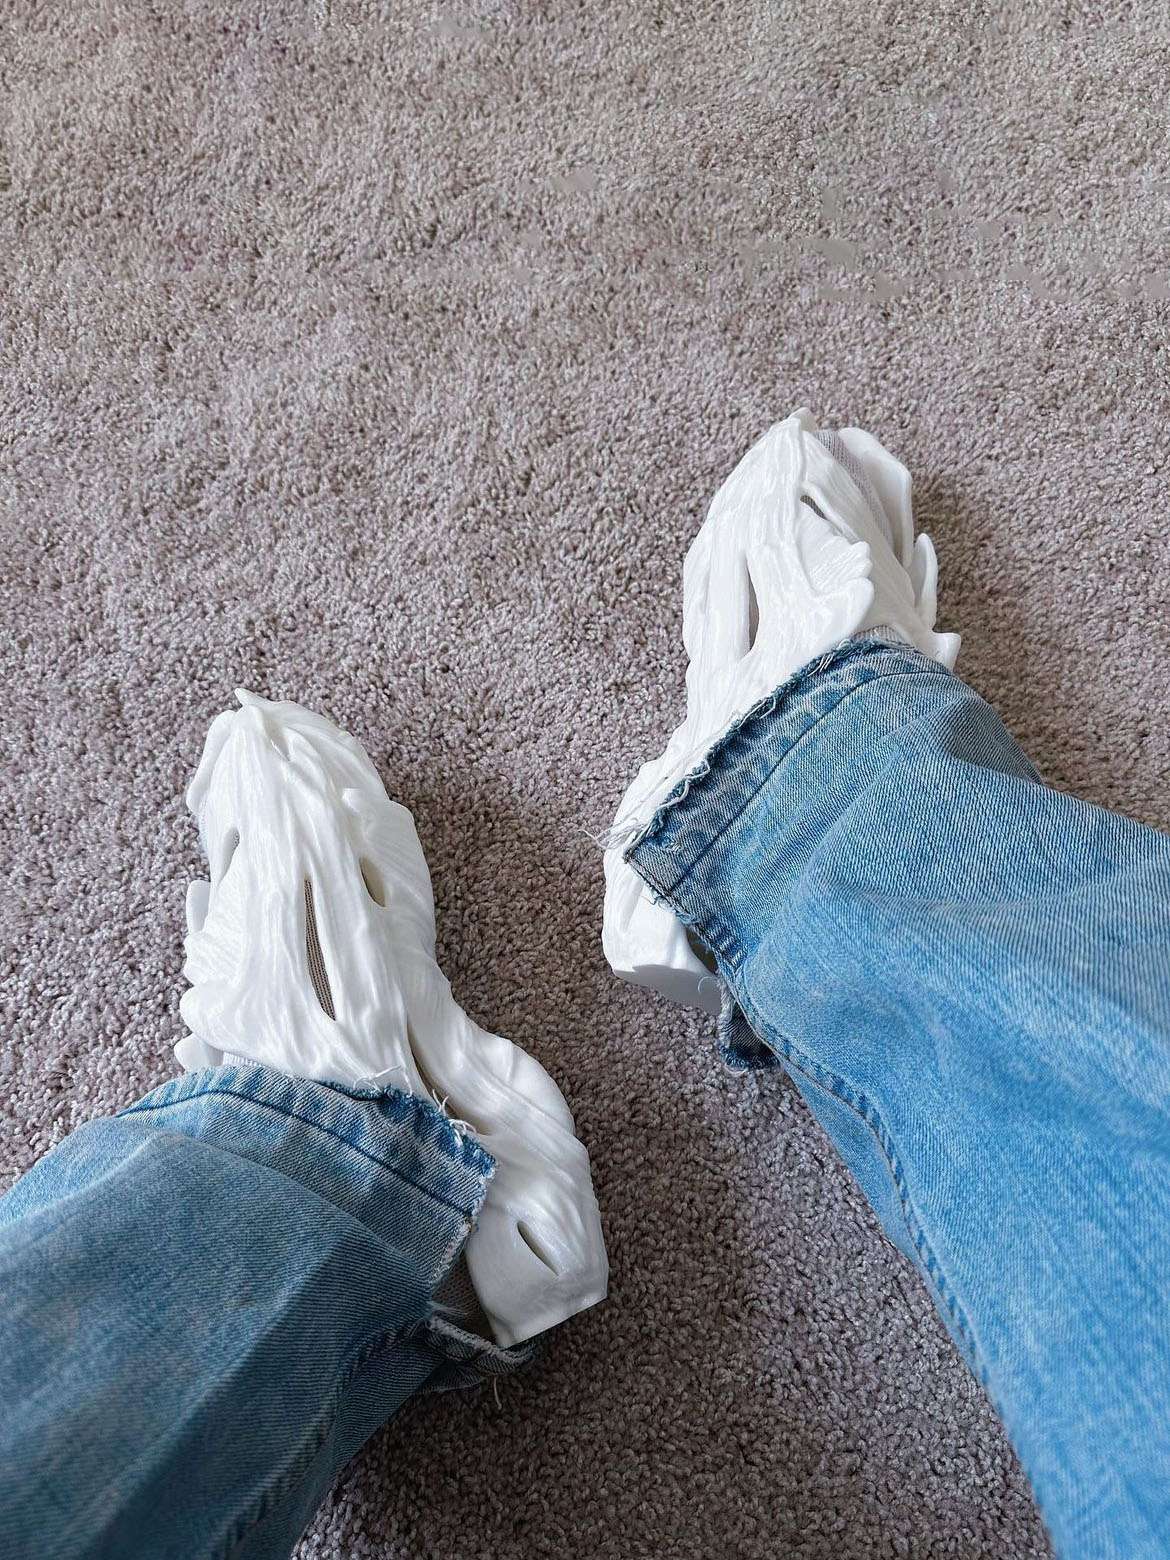
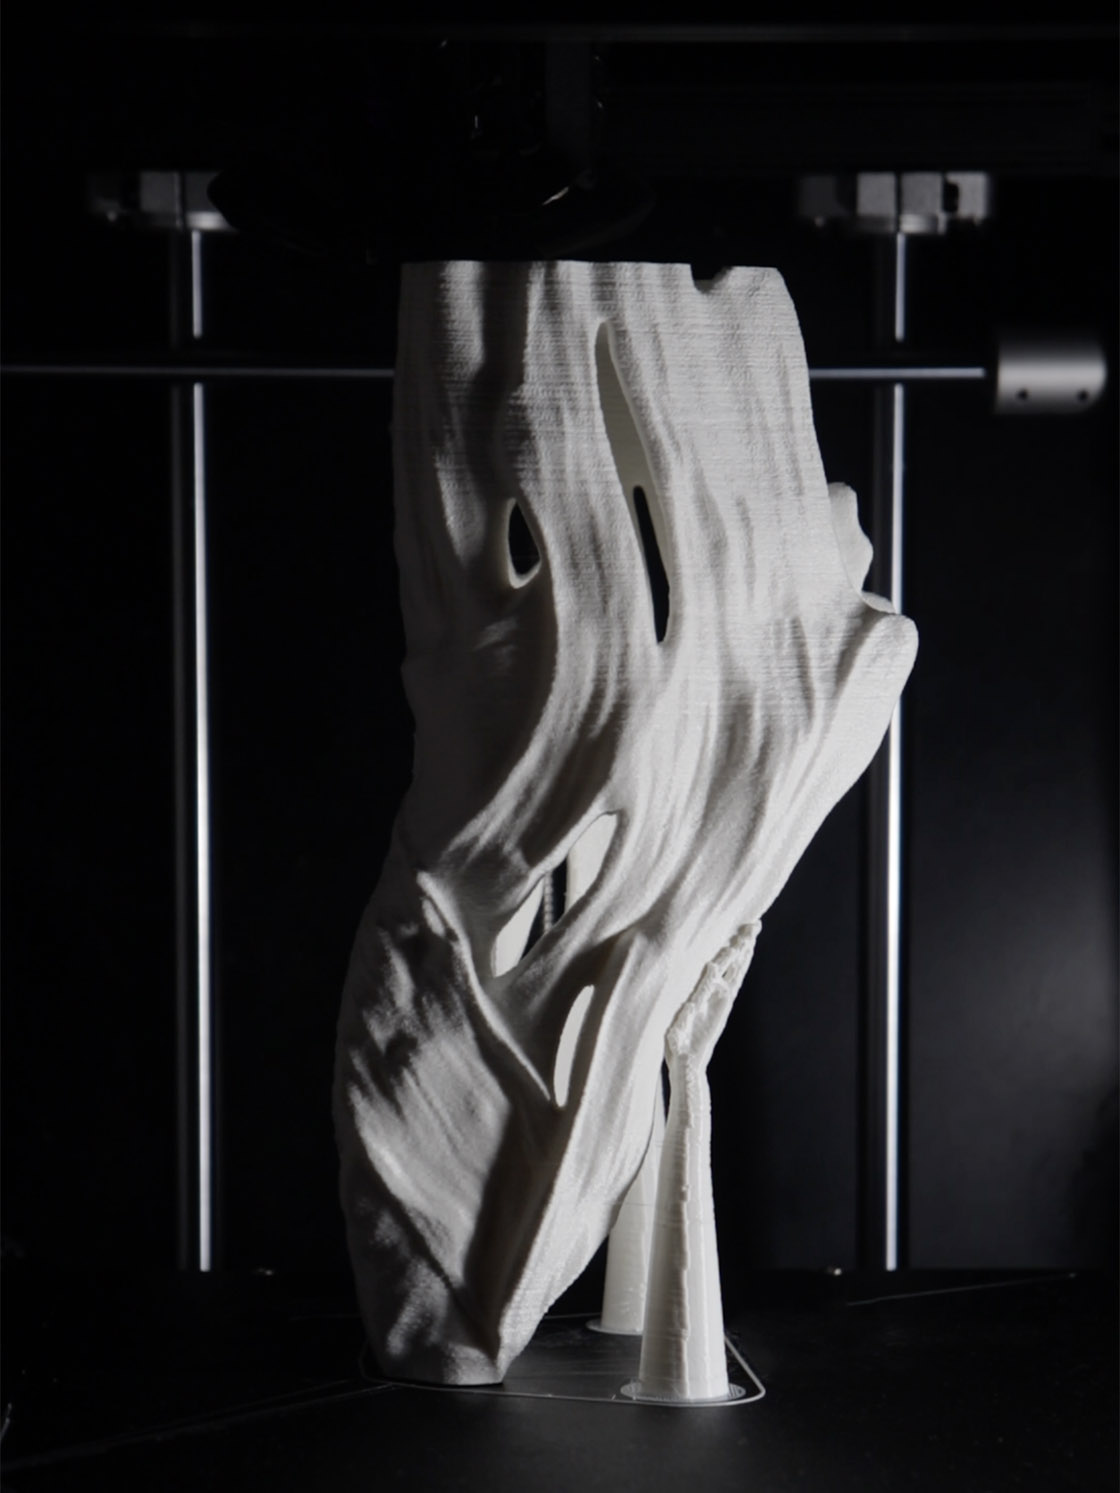
Shoes
Printing shoes is one of our latest fascinations. What’s really amazing is that you can customize the shoe to your needs, scale it to fit your foot, and choose how soft it will be.
For their printing, you’ll need a flexible material such as TPU, TPE, or, for example, TPR. However, it’s important to pay attention to the shore hardness – a shoe with 95A is very hard; our experiences so far suggest sticking to 40D or 88A.
Our shoes should be printed from the heel upwards. You don’t necessarily have to print them vertically; it’s possible to orient them differently in the space, but you’ll have different structures and may need more supports.
It’s necessary to have enough space in the printer according to the shoe’s size. Measure the size of your shoe and check if it would fit within your printer’s space. The “Laces cocoon” in men’s size 43 is 32 cm in height.
Course design printables
Designing 3D print models allows for a high degree of creativity and artistic expression. As a 3D print model designer, you will have the opportunity to bring your ideas to life and create unique and personalized products that are tailored to your customers’ needs and preferences.